METAL STUD WALL CONSTRUCTION: A STEP-BY-STEP GUIDE
Dive into the world of metal stud wall construction with our comprehensive step-by-step guide, perfect for both beginners and experienced builders.
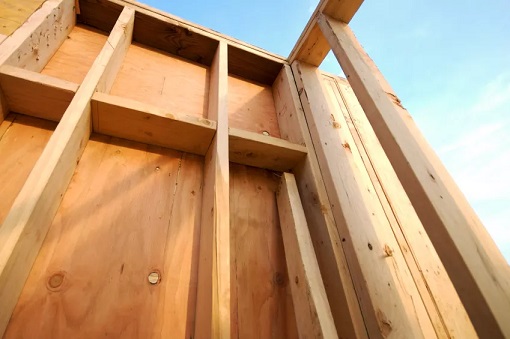
Rather than the traditional timber stud wall, many people these days are choosing to construct a metal stud wall. It's quick, easy to install, and elimates having to work with twisted or bent timbers! Here's how to do it.
Prepare
Make sure you have all the right tools. You will need tinsnips, cordeless drill, C clamp, spirit level and if you can source one, ideally a mitre saw with a metal cutting blade.
Next, measure the area of wall you have to do. You will need to allow for a metal stud every 400mm or 600mm plus an extra one for either side of openings and at corners. Remember you will need a track for the top and bottom channel.
Time to get started
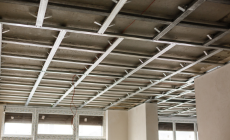
Begin by determining the position of your wall and fix the bottom and top track to the floor and ceiling respectively. When doing this, remember to ensure that they are plumb using a laser level or plumb line. If you need to cut the tracks to length, do so with snips or mitre saw being careful when handling as the steel is very sharp! It would be good practice to wear heavy duty gloves.
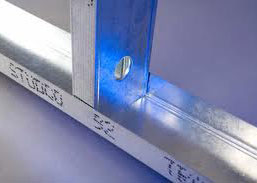
To install the studs, start by fixing the first two studs against both ends of the wall again checking that both are plumb. Next mark the position of the first stud at 400mm or 600mm centres. It would be wise at this point to work out the position of any door or window opening and mark accordingly. We will cover how to form these openings shortly. Again, making sure its level, clamp each end of the stud and fix using 13mm wafer head screws. Have the drill clutch setting powerful enough to drive home the screw but not too strong as it may strip the hole therefore weakening the joint. Once the first stud is in place, repeat until the wall is complete.
Need an opening?
To form the header or bottom rail of an opening, simply cut the stud approximately 50mm longer than the opening then cut the flange approx 25mm in from the edge on each corner. When this is done, bend down the web to a 90 degrees angle.
You can also use pieces of timber where added strength is required. Just cut them to the exact lengths and screw through the studwork into them. These can also be used if there is anything such as cabinets that need fixing to the finished wall.
You can now fit the door casing, if required into the door opening by screwing it directly to the studs.
Services
Before you commence fitting the plasterboards, any wiring can now be fed through the cut outs. Make sure that a rubber bush is inserted to stop the wires rubbing on any sharp edges.
Almost there!
Using the correct size of screws dependant on the thickness of board, fix the plasterboard or plywood at approximately 200mm centres where the boards meet each other. When fixing to the studs towards the centre of the boards, fix at approximately 300mm centres. Once the whole wall is covered on both sides, that’s it, you’re finished! All you need to do now is finish the wall with the method of your choosing.
If you need any further assistance, please don’t hesitate to contact us or for an in-depth look at the whole range of plasterboards, plasters and metalwork, why not take a look at the market leading British Gypsum site.